Master System II 3D Glasses
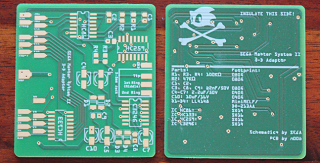
I had been thinking about adding 3D Glasses support to the Sega Master System II for a while now as I had an extra adapter lying around but while searching around on how this can be done I came across this thread on SMSPower which talked about a reproduction board. The thread links to the circuit and instructions at Circuit Board.
I used JLPCB again like I did for my Master System 2 AV Mod.
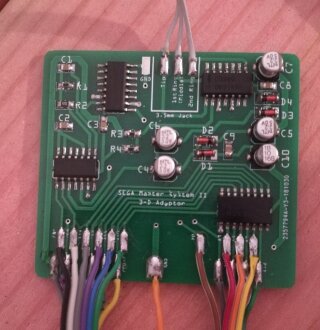
I sourced the components from LCSC and AliExpress. Once they finally arrived and after a couple of re-orders due to myself ordering the wrong resistors and a seller on AliExpress sending radial diodes instead of surface mount I populated the board. The R1 resistor was a bit tricky as it was the smallest but it wasn’t too bad to do. Using a hot air station would make it easier and cleaner.
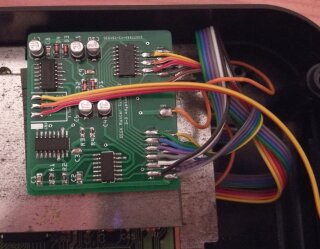
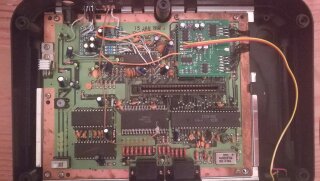
The next part was where to mount the 3D board in a way that I could still include the shielding and keep the wire length to a minimum. As you can see in the next image I originally went with placing it on the outside of the top shielding but after doing so I decided to place it on top of the main board inside the shielding. Testing it while it was on the outside showed that it did work though.
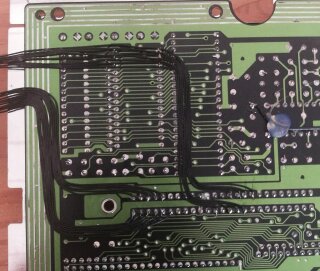
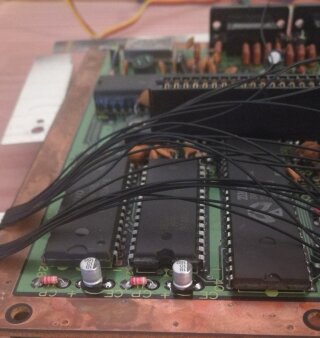
The original wiring was also not very good with it being bulky and too long. I switched out the wiring to use thinner a gauge. This also allowed the motherboard to sit flatter on the bottom RF shielding.
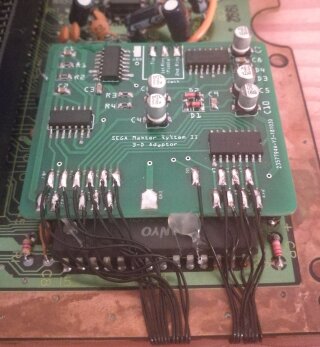
I used a bit of hot glue to hold the board in place and wired it up. It wasn’t too tricky, it just took time. Again I tried to keep the wires as short as possible.
I also added in my AV Mod for better video output using composite instead of RF.
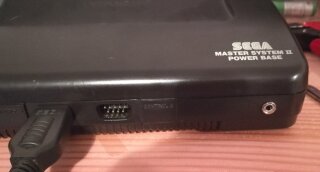
All that was needed now was the 3.5mm plug, I placed this on the front right.
I plan to use the same 3D Glasses board to see if I can add support to a Mega Drive as well as build it into a cartridge as a pass through cartridge so that it can work on an unmodified Master System II.
