SEGA SC-3000 Flash Cartridge
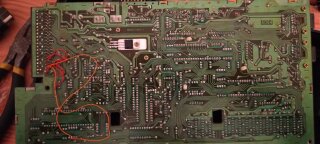
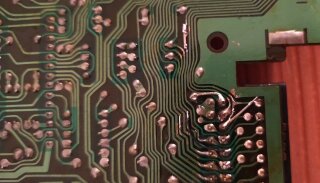
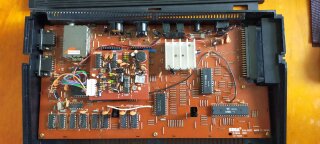
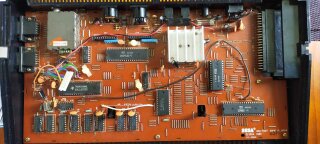
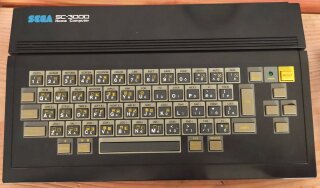
I picked up a SEGA SC-3000 from TradeMe that came with the game Flipper. It claimed to be working some of the time. Upon receiving it I opened it up to inspect what was wrong with it and found that it had been opened before in an attempt to fix the cartridge connector and traces. It was with some excessively long wires.
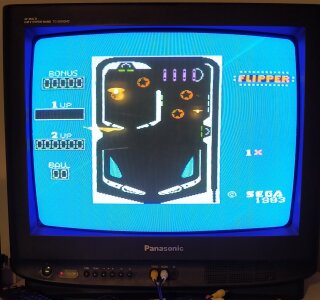
After the fixing the traces, replacing the voltage regulator, replacing capacitors, re-flowing the cartridge and controller ports it now booted up Flipper.
While Flipper worked, it was the only cartridge I had and finding more wasn’t going to be easy or cheap so instead I looked into what flash cartridges are available for the SC-3000. The best by far is the SC-3000 Survivors Multicart. It supports basically everything including tape software. The downside is that it is a bit pricey and I could not justify spending that much. However, if you can it looks like an awesome cartridge.
Looking over the rest of the SC-3000 Multicart site there are instructions on how to convert an existing cartridge into a flashable multicart which can hold up to 32 games. I decided to attempt making one of these cartridges but without using a donor cartridge (Flipper).
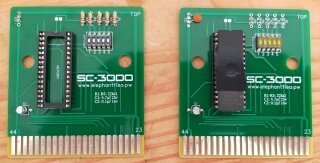
Using the instructions and images on the SC-3000 Multicart site alongside my Flipper cartridge I was able to design a PCB to be made. In the past I have used JLCPCB but for some reason (at least at the time) no longer offered the cheap shipping to New Zealand, so this time I went with PCBWay. With my second attempt at the PCB (I missed a single trace first time around) I was successfully able to flash and boot up SC-3000 games.
Download Schematic
If you would like to make one of these cartridges yourself then you can download the PCB gerber and have it printed. Make sure to specify that there is an edge connector and that it should have beveling.
Instructions on how to create and flash the EPROM image can be found on the SC-3000 Survivors Mk I Multicart page.
Components Required
- 5x 22kΩ resistors (0805 or through-hole)
- 4.7µf 25v electrolytic capacitor (0406 or through-hole)
- 0.1µf 16v ceramic capacitor (0805 or through-hole)
- 8Mbit EPROM (27C801 or 27C080)*
- 32 pin DIL/DIP socket (not technically required but makes it easier to reflash later)
- DBS2105 switch (you can solder another switch, but the board is designed for a DBS2105
- EPROM programmer (the cheap TL866 worked fine for me)
*OTP (one-time-programable) EPROMs can also be used but obviously they can only be written to once.
