Compaq Contura 2820A Keyboard Repair
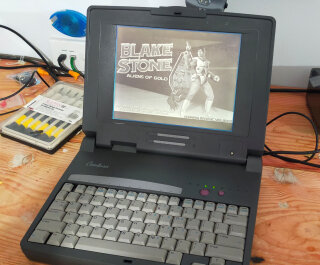
I bought this Compaq Contura 2820A laptop that was in working order except that a few keys supposedly did not work for around $40. The laptop has a 25mhz 368SX CPU, 4mb of RAM with 121mb hard drive. It is running MS-DOS 6 and Windows 3.1.
When it arrived it was in surprisingly good condition except for the keyboard issue, the battery held no charge but this was expected of a laptop of this age. The auction listing stated that the down arrow key didn’t work but as it turned out there were a few other keys that also did not work.
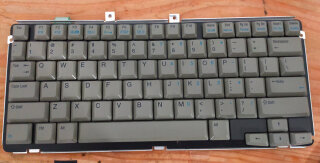
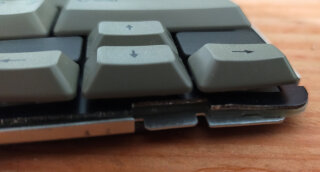
Removing the keyboard from the laptop showed that there had been an impact on the directional keys at some point as the corner was bent.
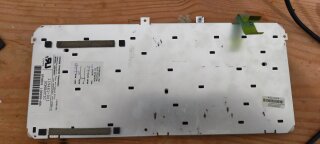
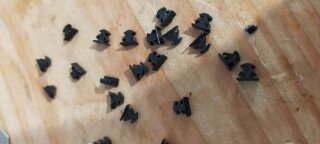
Unfortunately removing the membrane from the keyboard wasn’t as easy as removing a couple of screws. There are some plastic clips that go through the keyboard and sandwich the membrane between the keys and the frame. Some popped out easily but others didn’t survive the extraction. Fortunately there were enough intact clips to be able to put it back together.
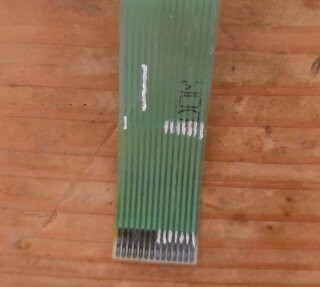
With the keyboard membrane removed I could inspect the damage more and while the down arrow plunger was slightly damaged it should still have been working. Using the continuity mode of my multimeter I could see that the traces were intact until it reached the flex cable that is inserted into the motherboard.
It turns out that at some point the keyboard must have been removed and upon putting the keyboard back in the flex cable was pinched. This resulted in damaged traces and the trace that was connected to the down arrow had no connection at all.
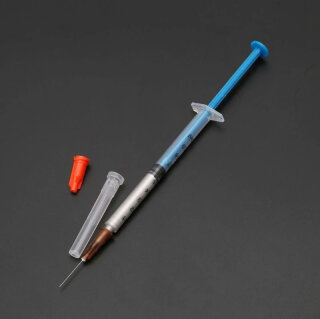
Getting a replacement keyboard or membrane for the keyboard was unlikely so I had a go at trying to repair it. I initially thought about running a thin wire over the damage but figured the soldering iron would do more damage to it. So instead I decided to try conductive paint that can be applied with a syringe. It only costs a few dollars from AliExpress.
The flex cable had a solder mask/protective layer on top of the traces so I initially tried to apply the conductive paint from where the traces go under the protective layer all the way down to the exposed edge connector. But unfortunately it was too difficult to avoid shorting out the traces even though it looked like there was clear separation. I decided that instead of running the length of the flex I would just jump the second that was damaged so there was less chance of shorting. I was able to remove the conductive paint I had already applied with a bit of IPA and a cotton bud. This did remove a bit of the traces at the keyboard end but I was able to use the conductive paint to fix this.
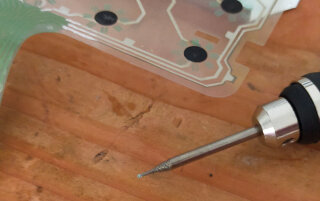
Removing the protective layer was going to be the difficult part. Using a grinding pen I gently grinded away the protective layer either side of the cut in the traces. This worked surprisingly well without any issues, I was expecting to grind away too much and not cut more of the trace but I didn’t.
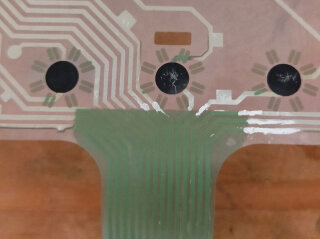
From here I was able to use the conductive paint to jump the cut without any shorts. Most of the jumps were just a few millimeters in length but one was damaged more and required a longer jump. Once I confirmed that the keyboard was now working I applied some kapton tape over the conductive glue to help protect it.
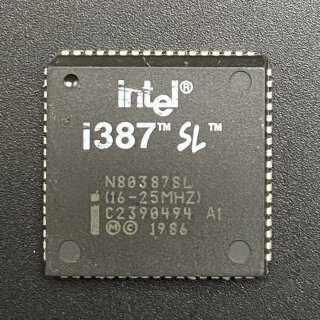
Not sure of the life expectancy of the conductive glue but hopefully it extends the laptops life a bit longer. With a fresh install of MS-DOS 6.22 and Windows 3.11 it is now working perfectly. Also while I had it open I also installed an i378 SL math co-processor.
