Xbox 1.6 Xyclops BIOS Flash
Most versions of the original Xbox can have it’s BIOS flashed (‘TSOP Flashing’) allowing for a custom bios to be used
without the need of a hardware modchip. However, the last revision of the Xbox, known as 1.6, cannot have a custom bios
flashed this way. Until recently it required a hardware modchip such as the AladdinXT. The user Prehistoricman at the
Xbox-Scene forums discovered how
to flash a 1.6 Xbox. This is a guide on how to flash the BIOS on Windows.
Requirements
1.6revision Xbox- A USB to UART adapter
- Python
- Soldering iron and some wire
- A 256kb BIOS to flash (Google is your friend)
- xyclops_flasher.py
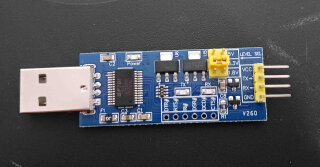
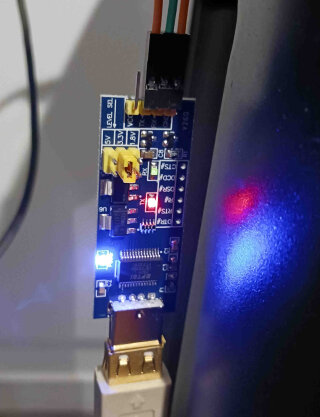
The USB to UART adapter needs to support 3.3v. I used a generic one from AliExpress.
Motherboard Modifications
Unlike earlier versions of the Xbox, to flash the BIOS of a 1.6 revision a few temporary modifications need to be made on the Xbox motherboard.
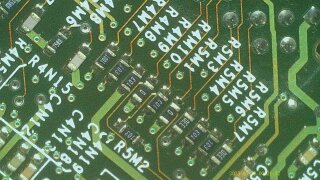
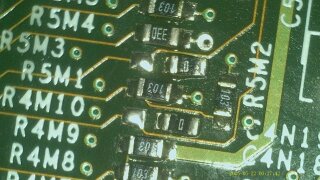
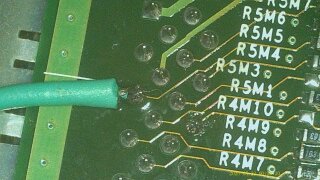
Once you have the motherboard out of the Xbox, flip it over and under the AV port there should be a row of resistors. Two
of these resistors, labeled R5M3 and R4M10, need to be removed. They will need to be put back on after flashing. They
are 0 ohm resistors so if you lose them you can just use a bit of wire/solder to bridge the pads. If they aren’t put back
then you will likely get display issues. I used hot air and slid them to one side.
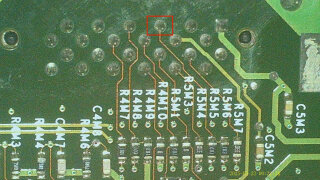
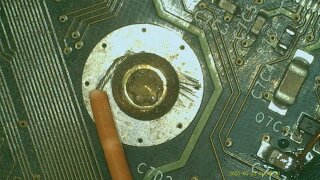
While on the underside of the board, a wire needs to be solder to the TXD point on the AV port. It is the third pin
from the right with the AV port to the top. This will connect to the RX pin on your UART adapter.
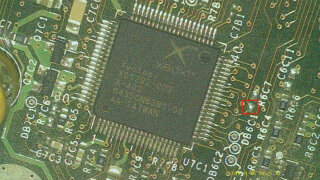
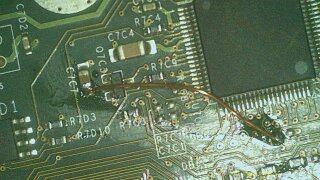
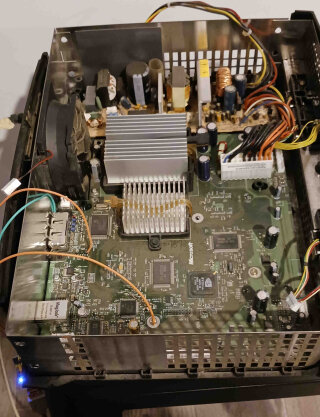
Once the wire attached, flip the board over and find the Xyclops chip next to the yellow clock capacitor. A wire needs
to be soldered from the pad DB6C1 (just to the right of the chip towards the heatsinks) to the right hand side of the
capacitor C7C7. This will supply the DEBUG pin of the Xyclops chip with 3.3v.
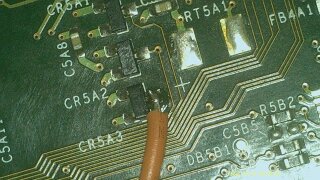
The last wire to solder is the Xyclops RXD point. On the top side of the board near the AV port is the component labeled
CR5A3. The wire needs to be soldered on the right hand pad (the side with a single pad). The other end of this wire
connects to the TX pin on you UART adapater.
A wire will also need to be connected to ground on the board, the easiest way to do this is wrap it around a screw that
goes into the motherboard, this will connect to GND on your UART adapter. Alternatively you can solder it to any ground
point on the motherboard.
You can now put the motherboard back in (with at least one screw for ground) and connect the PSU to the motherboard. You do not need to connect the front ports or any of the drives in. We just need the motherboard to have standby power.
Python
This can be done on pretty much any operating system but I will show how it is done on Windows 11. Once you have installed
Python on your machine, open up Powershell by typing powershell in your Start Menu. The library pyserial needs to be
installed. In your Powershell window, run the command:
py -m pip install pyserial
Flashing the BIOS
Now that the Xbox is wired up and Python configured it is now time to flash the BIOS. Plug your UART adapter into your PC and plug the power cable into the Xbox. Do not turn the Xbox on, it just needs to be plugged into the wall to provide standby power.
With everything connected, in your Powershell window run the xyclops_flasher.py script with the BIOS you wish to flash
and the COM port that your USB to UART adapter is connected on (this may vary depending on your setup and adapter).
py xyclops_flasher.py <bios file> <COM port>
# example: py C:\Users\yourname\Downloads\xyclops_flasher.py C:\Users\yourname\Downloads\bios.bin COM3
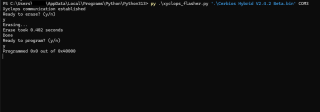
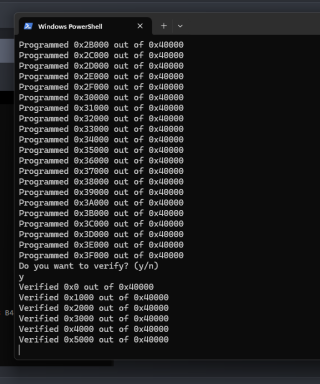
If the Xyclops chip is detected then you will be prompted to confirm that you want to erase the existing stock BIOS and then confirm that a new BIOS should be written. Once it has written it will give you the option to verify that the flashing process worked. This is optional but is recommended.
Once the flashing/verifying is completed then all that needs to be done now is to undo the wires that have been soldered to the motherboard along with the resistors put back in place. Before putting the Xbox back together you can plug the hard drive back in and turn it on to check that everything is working. If you flashed Cerbios then you should see the Cerbios logo upon booting instead of the standard Xbox logo.
